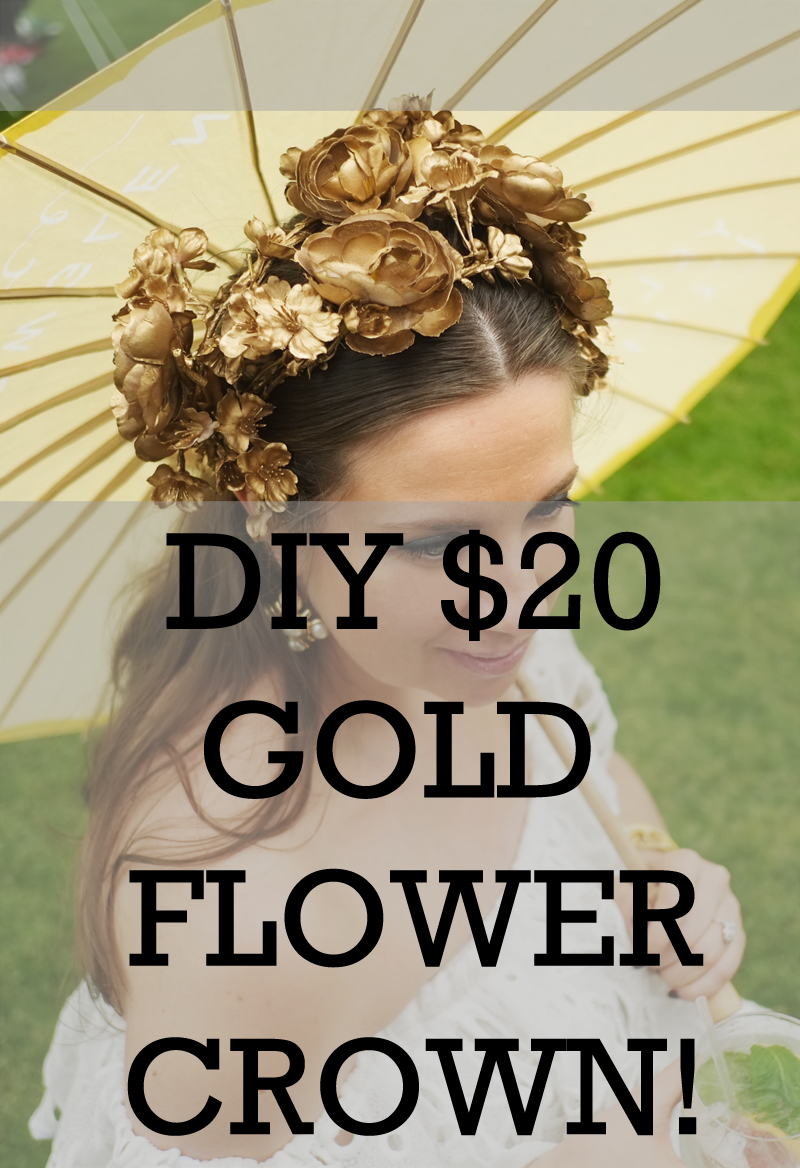
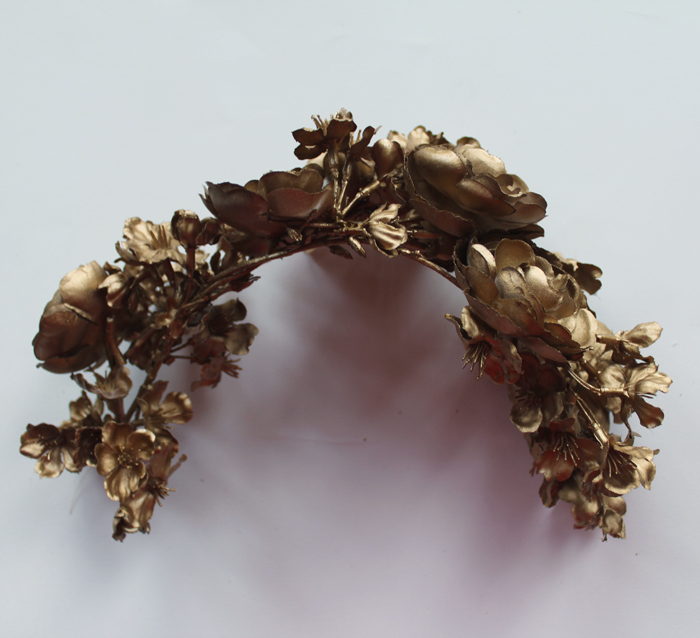
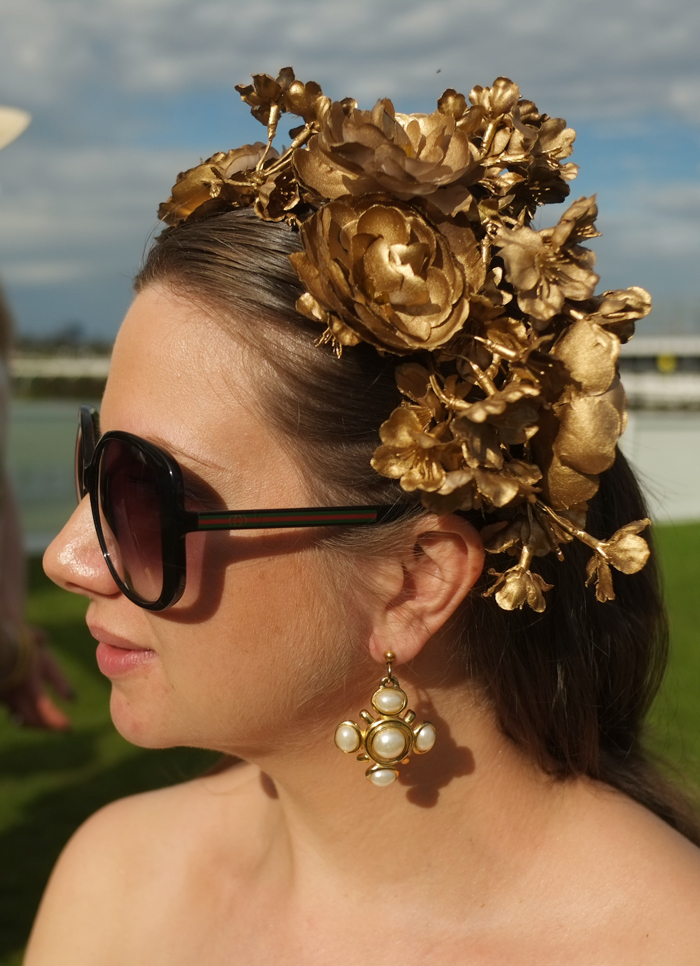
With the Australian spring racing season upon us and, in a bizarre duality, Halloween approaching too, I thought I’d share a DIY project I completed recently: the Lady Melbourne super-spesh gold flower crown.
As well as being super-spesh, it’s super-easy too, will cost you around $20, and should only take a solitary day to complete and have ready.
So without further ado, let’s get started!
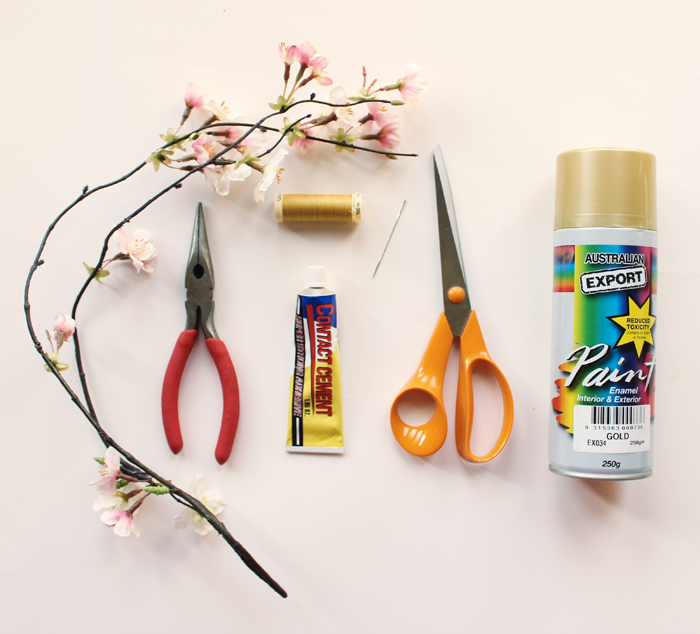
What you’ll need:
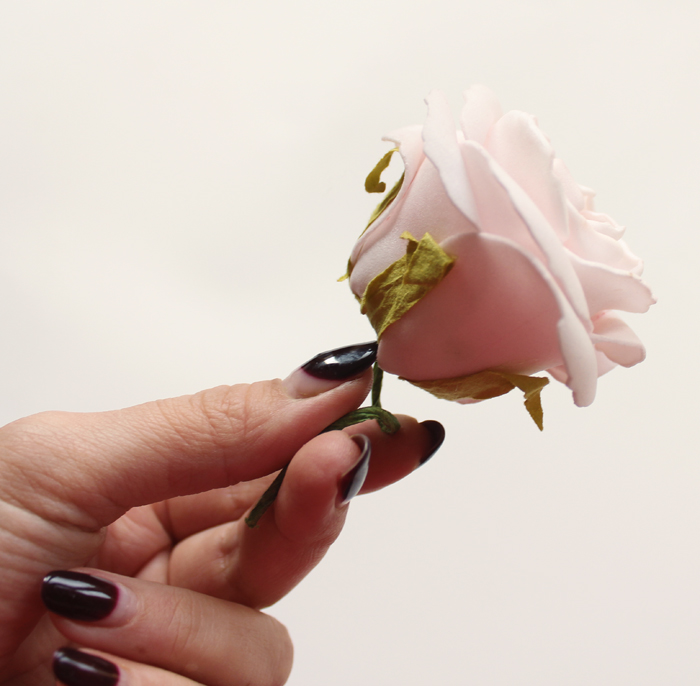
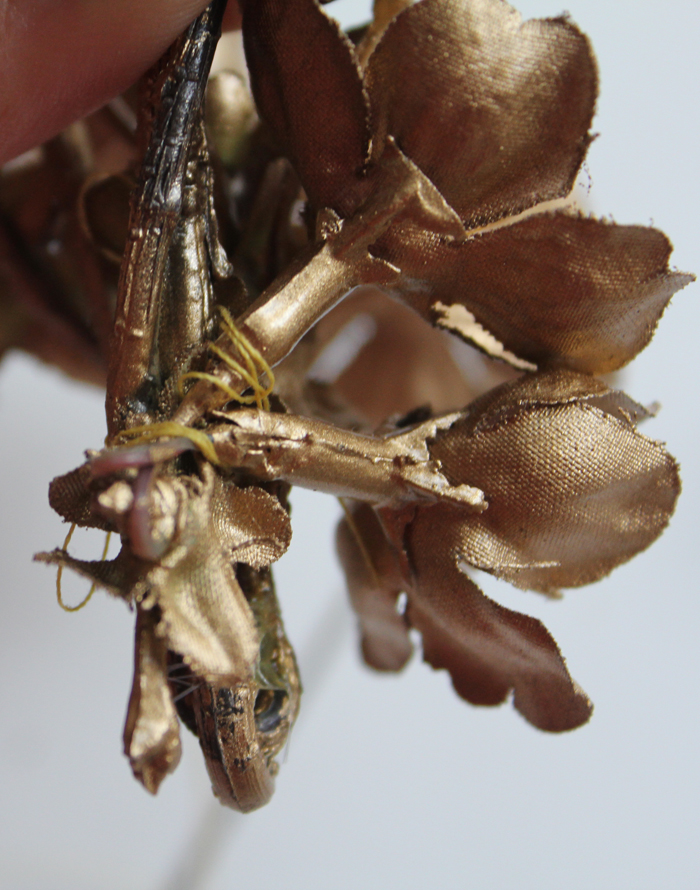
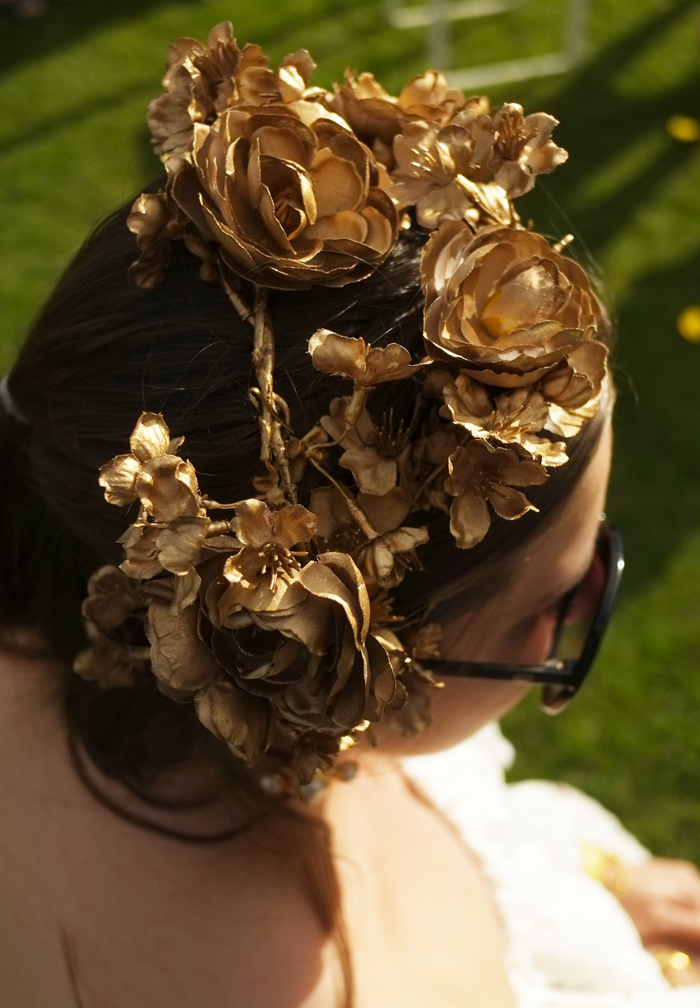
I used fake flowers on a branch for this one, because with the branch you get an automatic headband built-in. There’s no reason you couldn’t attach solitary flowers to a headband first and spray it, but I just wanted to make things as easy as possible! In this case, it was cherry blossoms with some larger individual flowers like roses thrown in to help balance proportions. But really, you could use whatever flower combo you like to create this.
The pliers and scissors are just to trim and cut the branches to a shape you like. Depending on the flowers you’ve bought, you might not even need them.
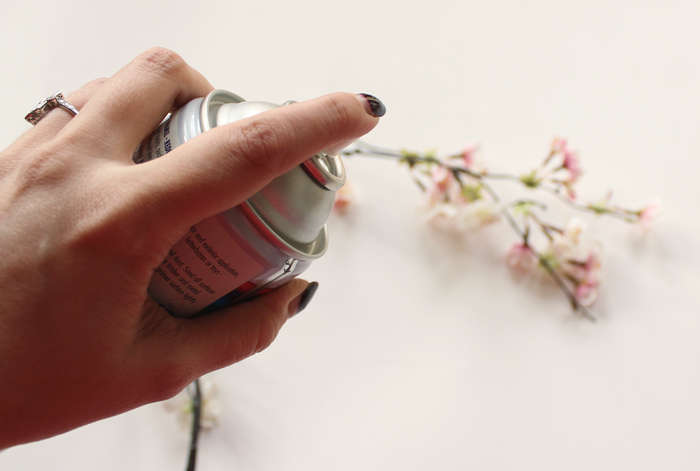
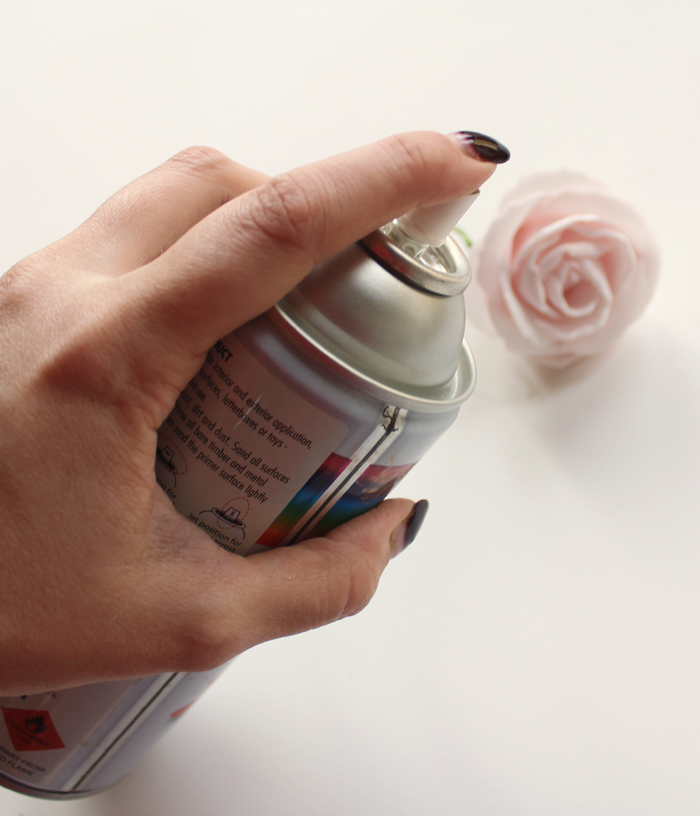
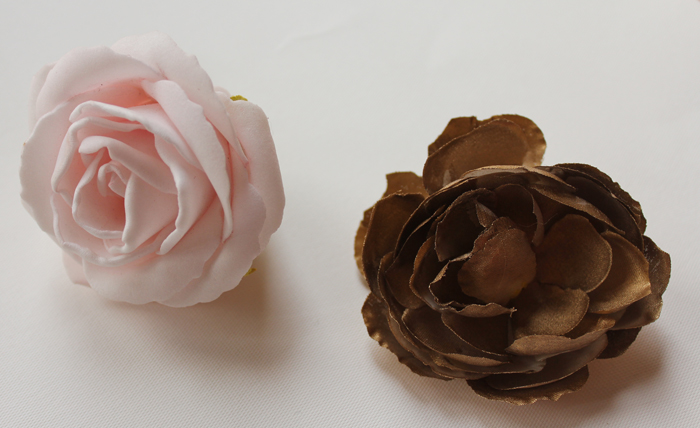
STEP ONE: SPRAY
You may want to use a primer first, depending on the type of flowers you’ve bought. This is simply an extra step, like an undercoat. Primer should cost you perhaps $10 for a can from your local hardware store. If in doubt, ask staff for help and tell them what it is you’d like to spray. They’ll be able to recommend the correct primer and paint, based on the materials you’re using.
I wanted a dense colour, so ended up doing about two coats and some touch-ups for the finished product. You may like the original colour peeking through, so the number of coats of paint is really up to how you’d like your crown to look.
I would suggest leaving it to dry for at least 24-hours. I found with mine that even though the paint was technically dry the next day, 12 hours later, the fumes hadn’t settled and it stunk! I left it outside for 12 more just to be sure. The longer the better really.
STEP TWO: PLACEMENT
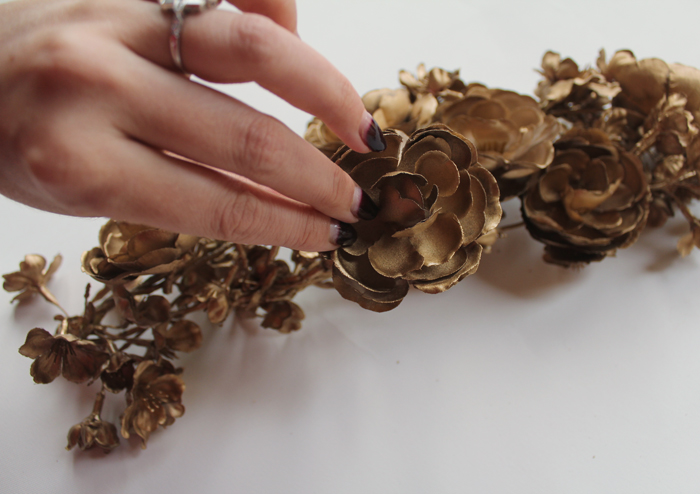
If you’ve used fake flowers on a branch, then you can lay them together and fashion them into a shape you like. I only wanted a half crown, if you want one that goes all the way around, all you’d do is measure your head circumference to get the size correct.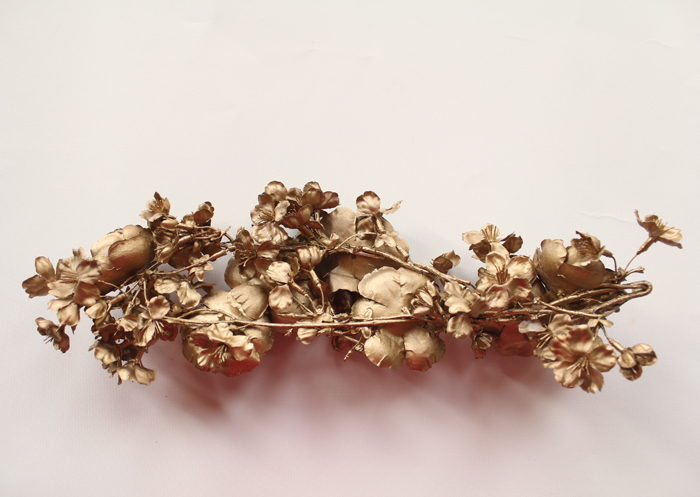
STEP THREE: TIDYING UP
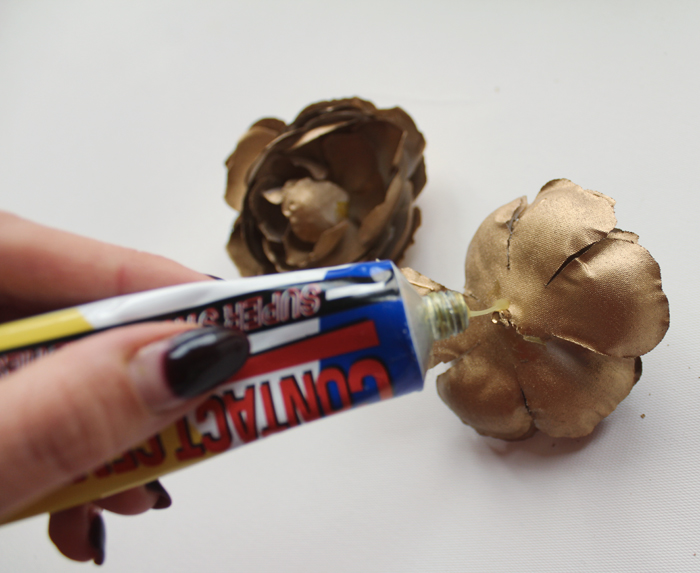
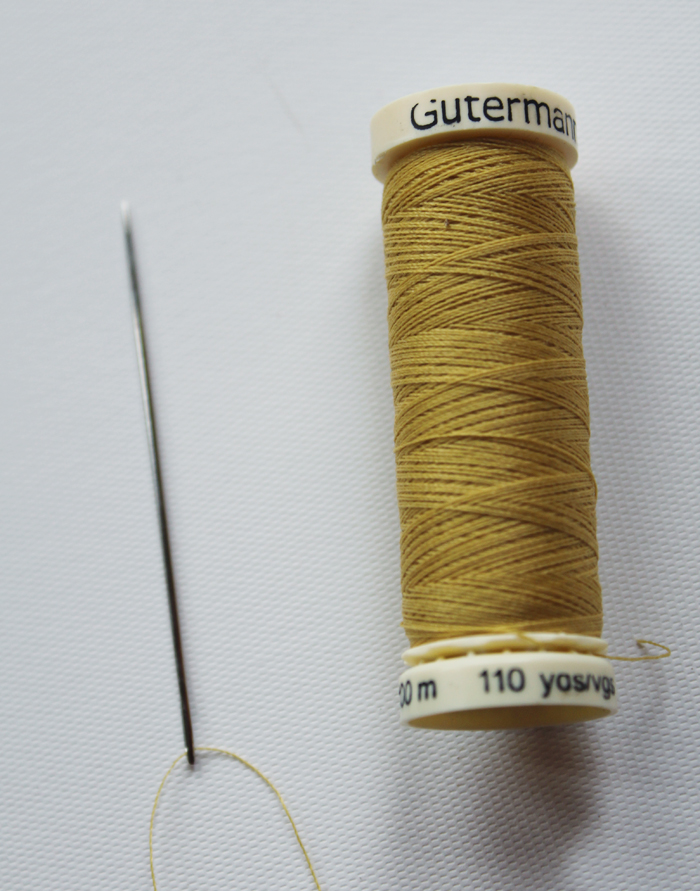
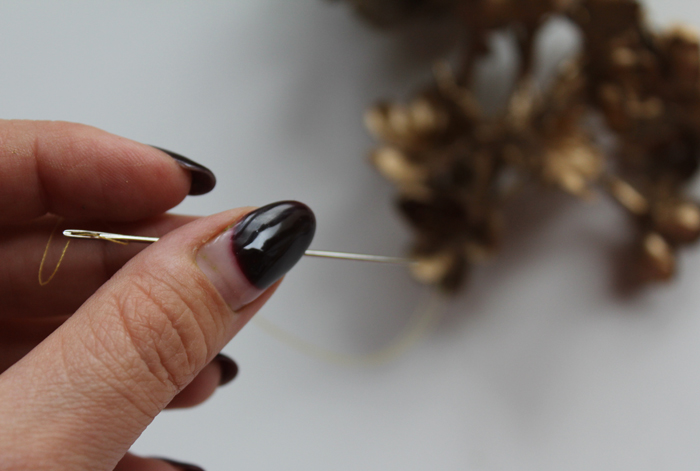
You may wish to use the needle and thread, glue, scissors and pliers to ‘shape’ your crown. There is no wrong or right way to do this, and if you like the way your crown is shaping up, then you could skip this step entirely. I just wanted to create a symmetry without loosing volume, so chose to use the needle and thread to move the flowers into place. You might be able to do this just as easily with glue. Up to you!
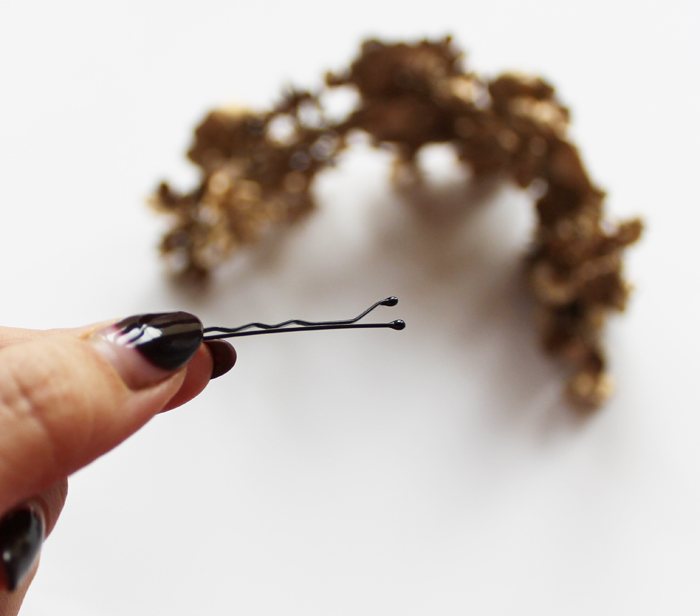
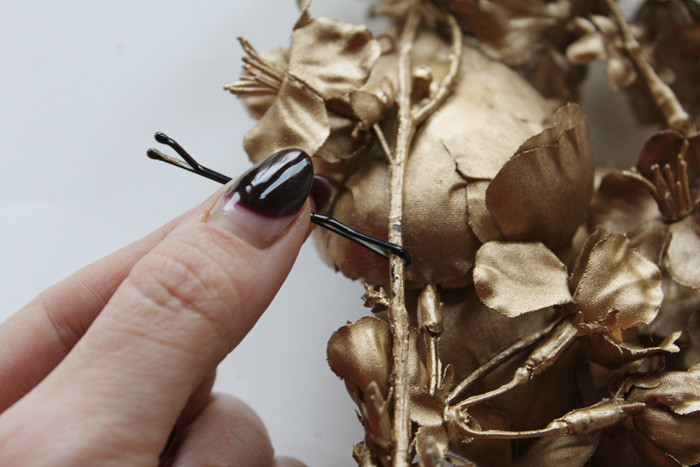
STEP FOUR: FIX WITH BOBBY PINS
All I did to secure this to my hair was slide bobby pins at various points across the crown. If you’ve used fake flowers on a branch like I have it will work easily. If you decided to make your crown with a headband, well you probably don’t need to do this! I wanted to created a ‘floating’ effect on my head, and found that about five bobby pins did the trick. That’s it!
STEP FIVE: WEAR WITH PRIDE!
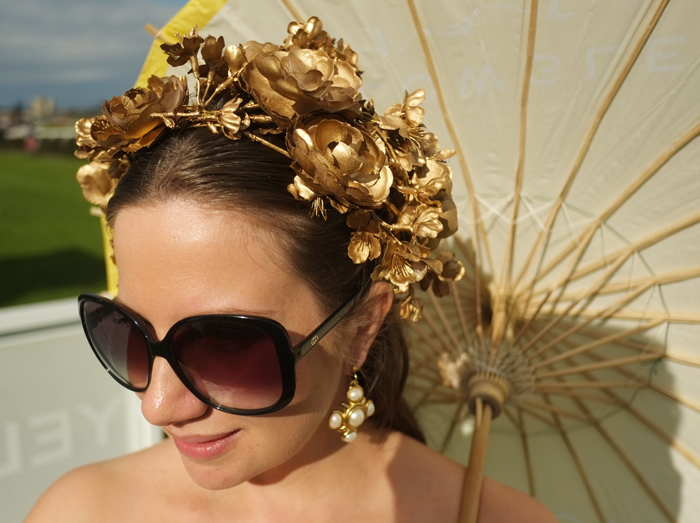
And there you have it folks, a super-easy and cost-effective way of making your very own golden flower crown! Got any questions? Just leave them below, and don’t forget that if you loved it, Pin it!