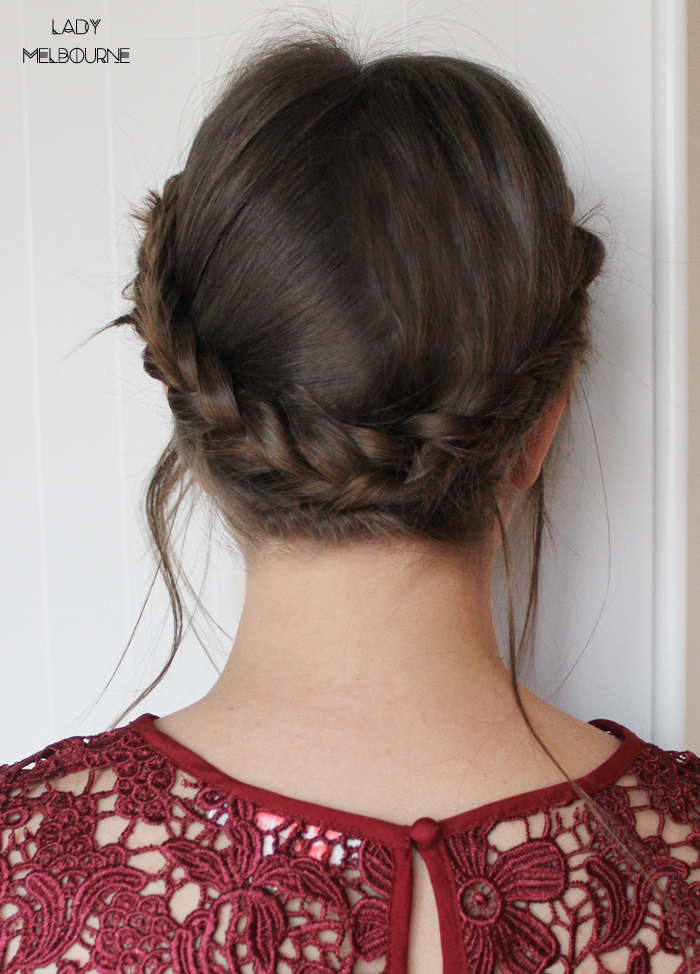
When I wear a crown braid or post about it (this blog post comes to mind) people want to know one thing: How do you do it?
There isn’t ‘one’ way to create this look, but I have discovered some tricks to make it so much easier for you, especially when it comes to the back of your head which if you’ve ever done it will know, takes some kind of inspector gadget like wizardry.
Here’s some quick tips:
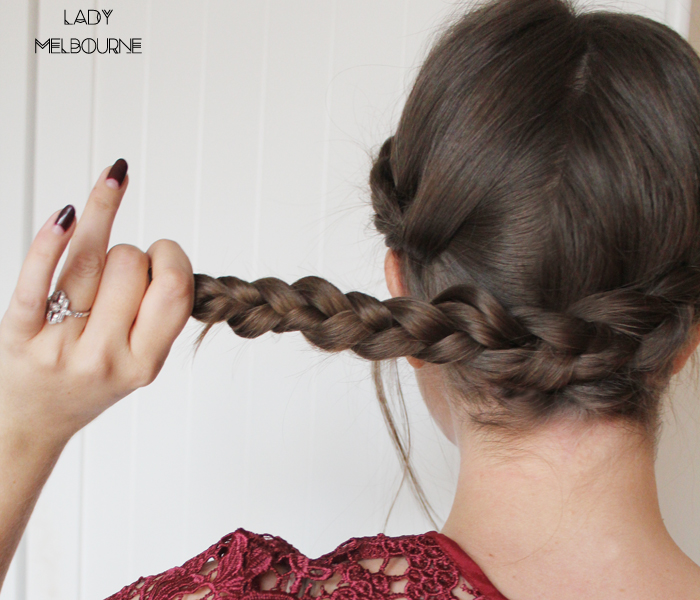
- I prefer to ‘dutch’ braid my hair, as opposed to a traditional ‘french’ braid. You can do a simple Google or Pinterest search to work out the difference, but I think that the dutch braid gives a better finished result because of the way it sits.
- You’ll need plenty of bobby pins and hair spray.
- Don’t worry if you don’t get it first time around, it took me a few goes!
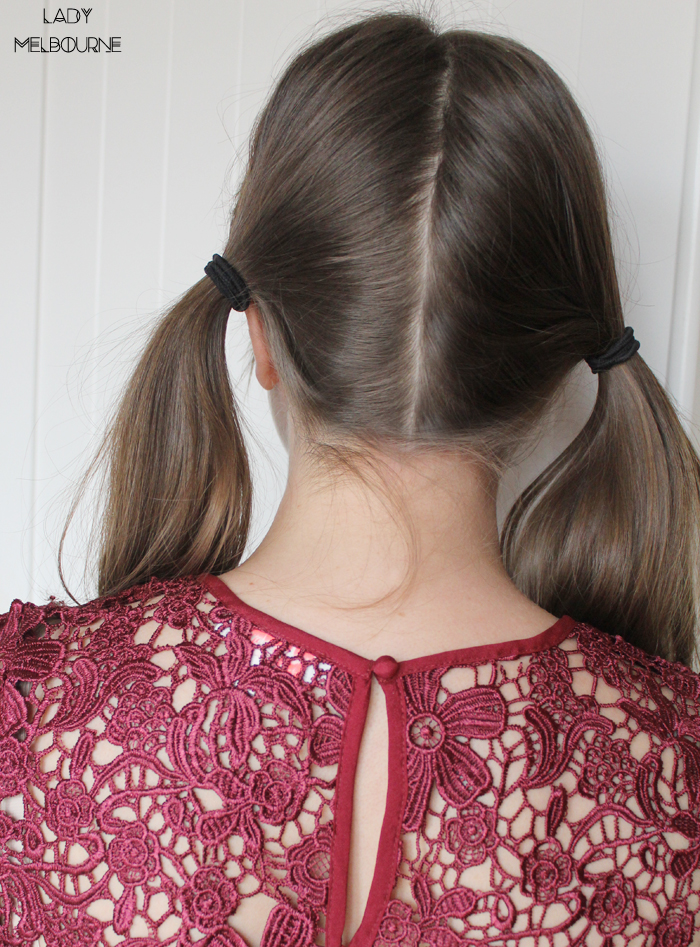
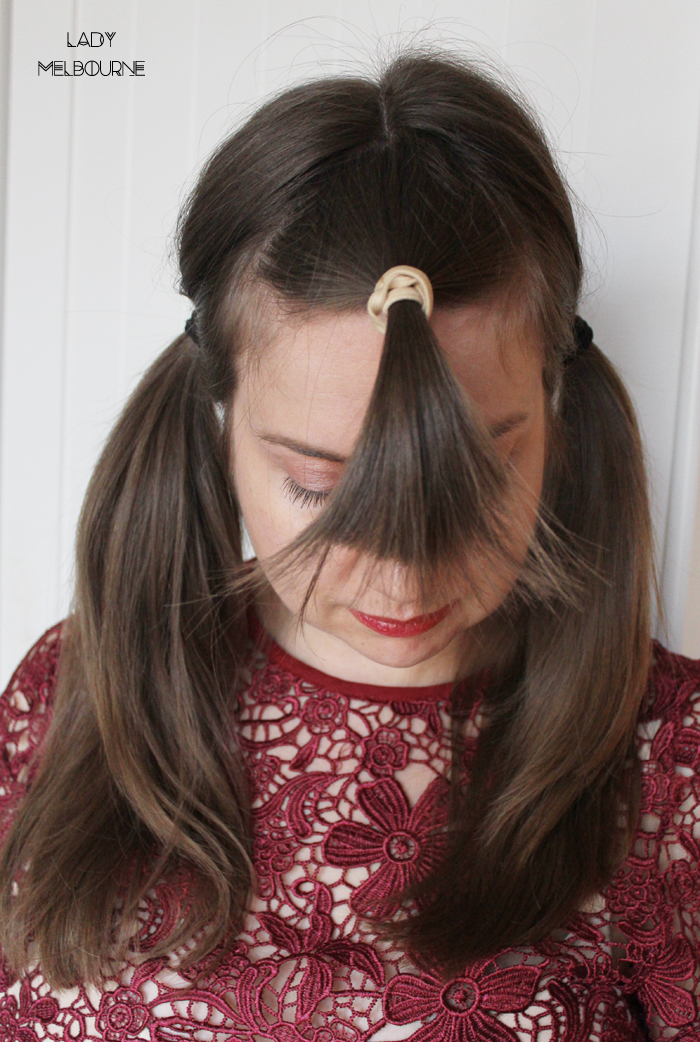
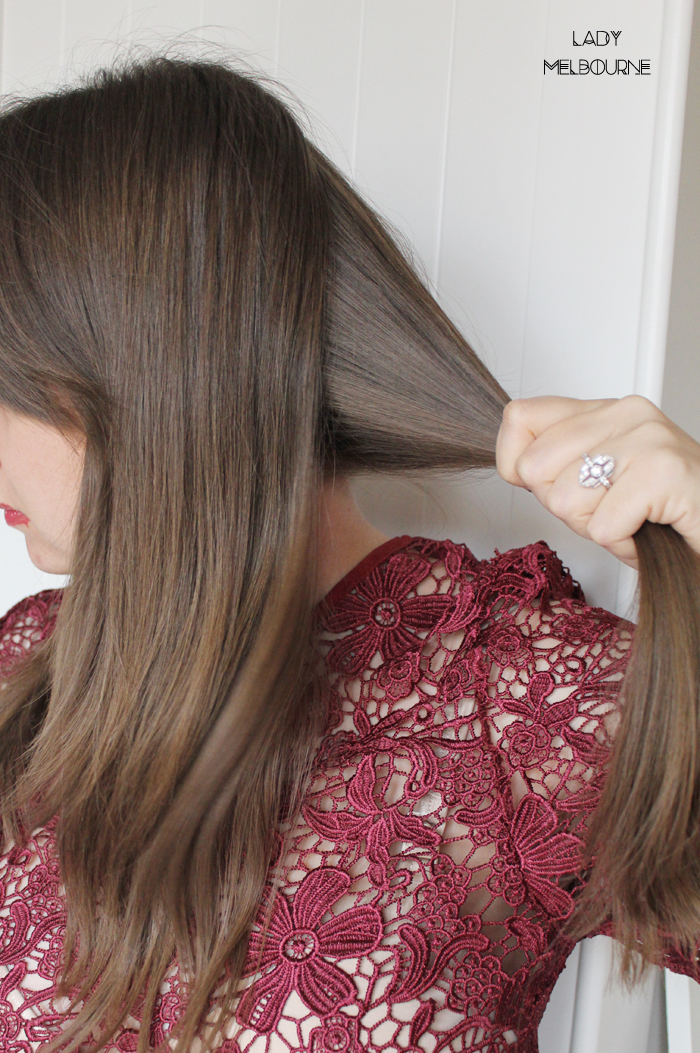
Step 1: Divide and conquer
Once I learned this trick, I never looked back with this hair style. I had always started from my fringe where the hair is finer and the braid would be thin and insipid. Sectioning the hair makes it more manageable, gets what you don’t need out the way and you can grab a bigger handful starting from the back. By the time you get to the front of your hair you should have a nice, thick braid happening. If you don’t have a fringe, just ignore that step and part your hair into two pony tails.
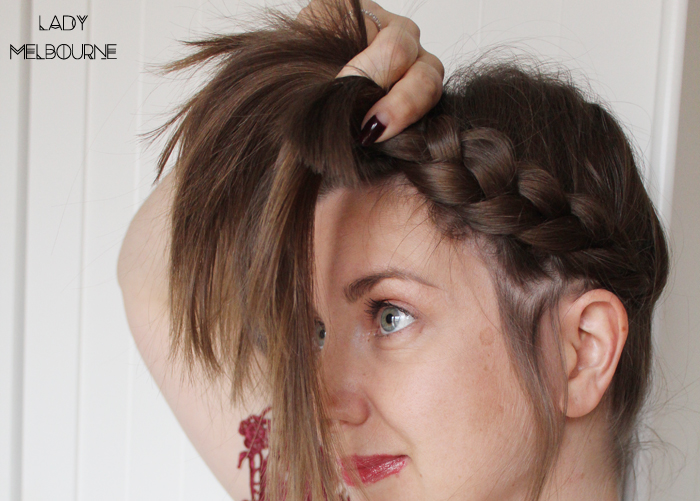
Step 2: Starting your braid from the back
Just grab a handful of hair and divide into three sections, like you would with a regular braid or plat and start your braid as close to the centre back part as possible.

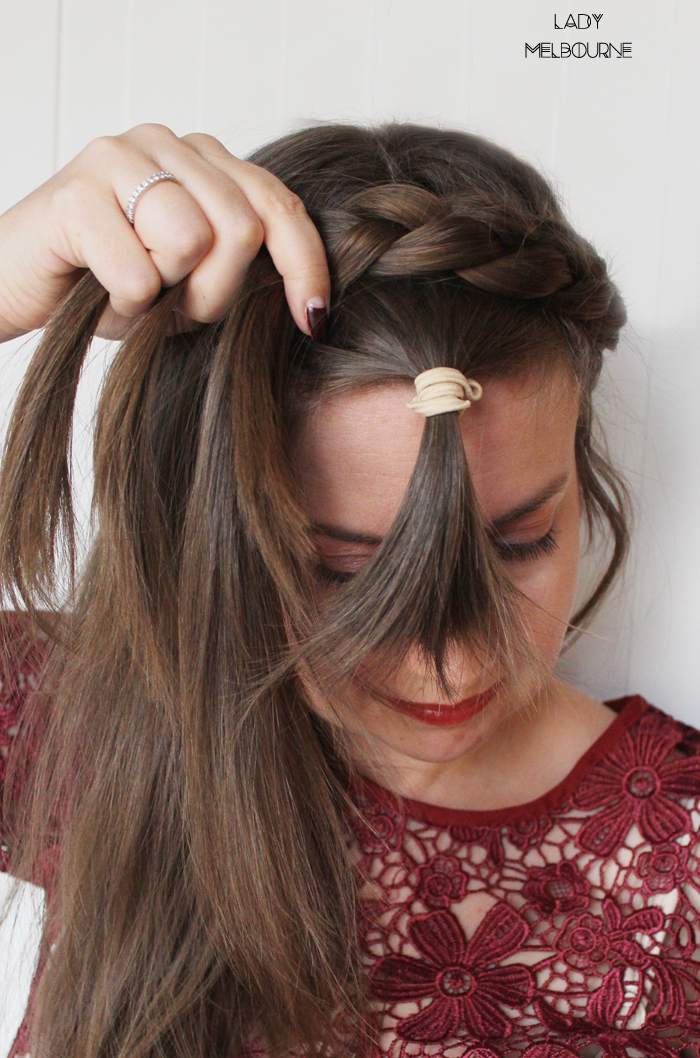
Step 3: Pin
Once you have braided your hair all the way around, you’ll end up with a plait. Tuck the very end into the existing braid and pin into place. Depending on how tightly you have braided your hair, you may need more, or less pins. I like a slightly un-done look and don’t worry too much about stray hairs, just call it ‘boho’ and move on 😉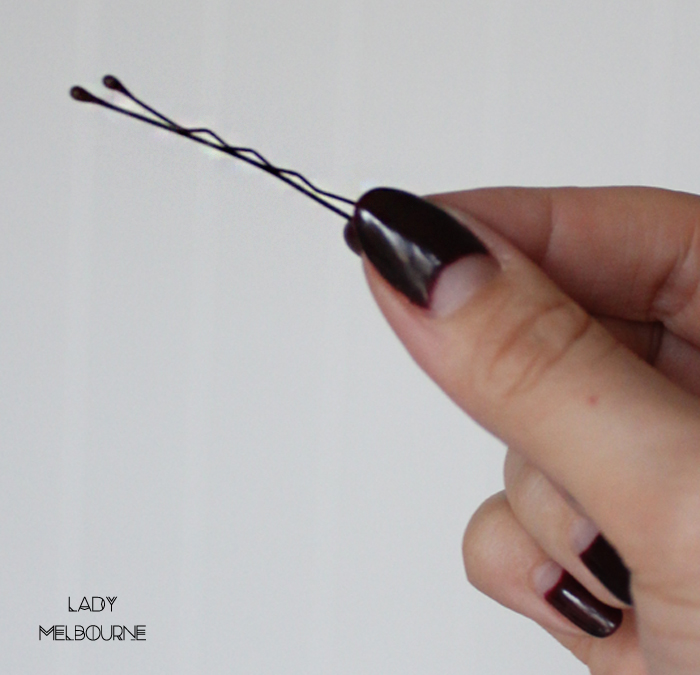
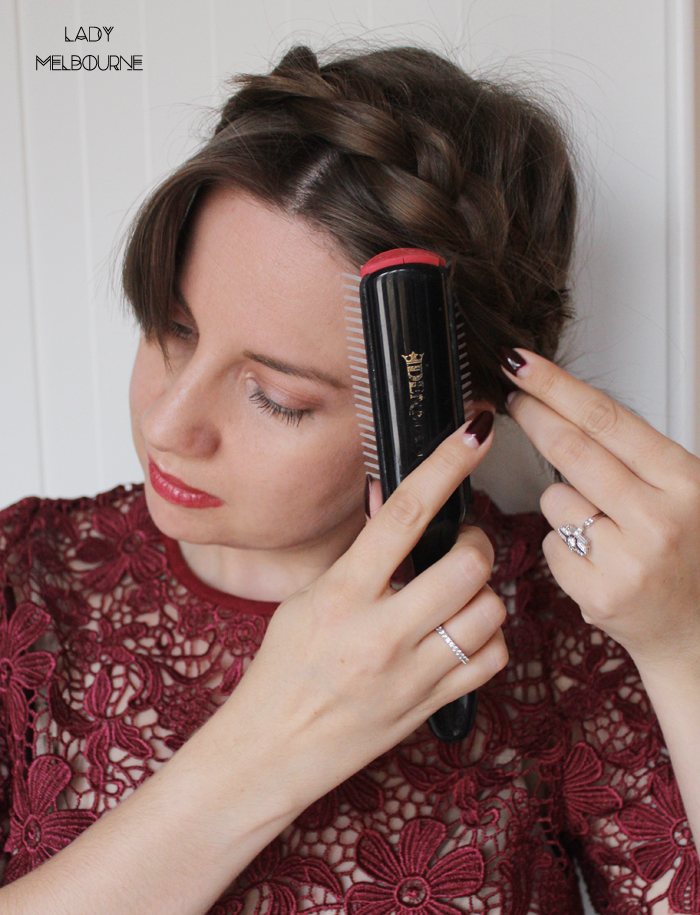

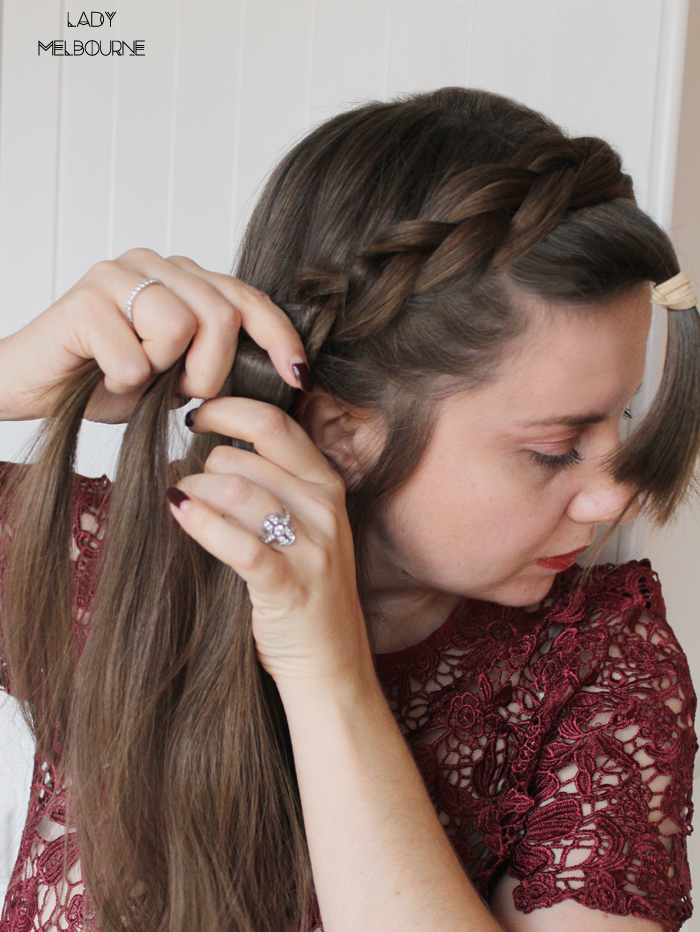
Step 4: Finishing touches and you’re done!
I like to brush out my fringe, give the braid a light spritz with strong hold hair spray and add any extra pins. The beauty of this do is that if you’ve made a mistake, you can just tuck it into the braid and hide it. And that’s pretty much it! 
Pin me!