I’ve discovered a new way to define your brows that’s simple, easy and only requires two products. Really and truly, you could use just the one, but as I like them to look a certain way, two pencils is still a pretty good solution!
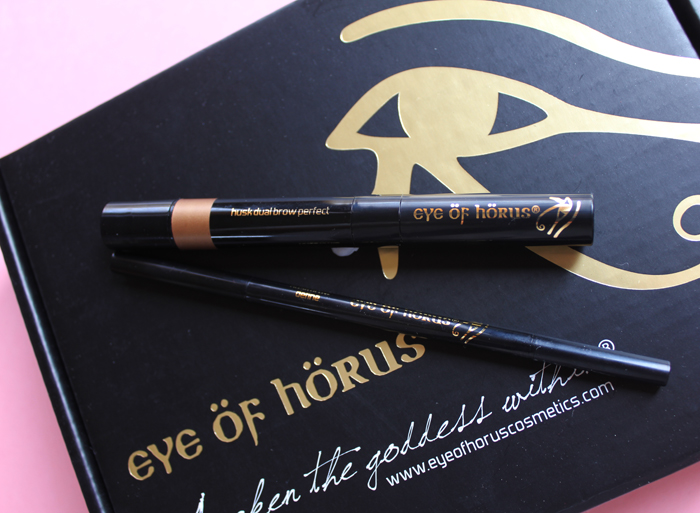
Here’s a little tutorial, complete with .GIF’s for you on how I did it using Eye of Horus products.
Step one:
Using the Brow Define Pencil, draw a strong line starting from the inside of your eyebrow, right along to the out edge.
Step two:
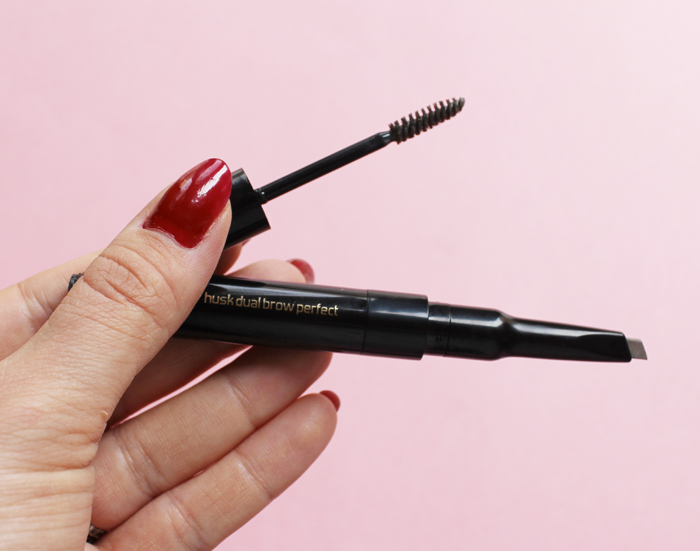
Using my new favourite never-to-be-replaced Dual Brow Perfect tool, start to fill in your brow using a feathering motion, starting from the line you have just drawn and moving in upwards strokes.
The Dual Brow Perfect tool also has gel mascara on the other end of the wax crayon, so you can keep hairs in place.
Step three:
After you’ve filled in your brows, use the clear, gel mascara to comb through your brow to make it appear even. I like to use a dry comb first, usually the one attached to the Brow Define pencil just to make sure the wax crayon has been distributed evenly.
Then I tidy things up with a cotton tip and start to apply highlighter under my brow line.
Step four:
You’re done!

Other beauty notes:
I’ve used Model Co. Lash and Line mascara as seen in this post
The base and high lighter on my eyes is exactly the same as in this post
Did you notice I changed my top in the first .gif?!